If you own a horse, you know how important it is to keep their hay clean and accessible. A DIY horse hay feeder can save you time, money, and hassle every day.
Imagine a simple, effective way to feed your horse that prevents waste and keeps your barn tidy. You’ll discover easy steps to build your own hay feeder that suits your needs perfectly. Ready to make feeding your horse easier and more efficient?
Let’s get started!
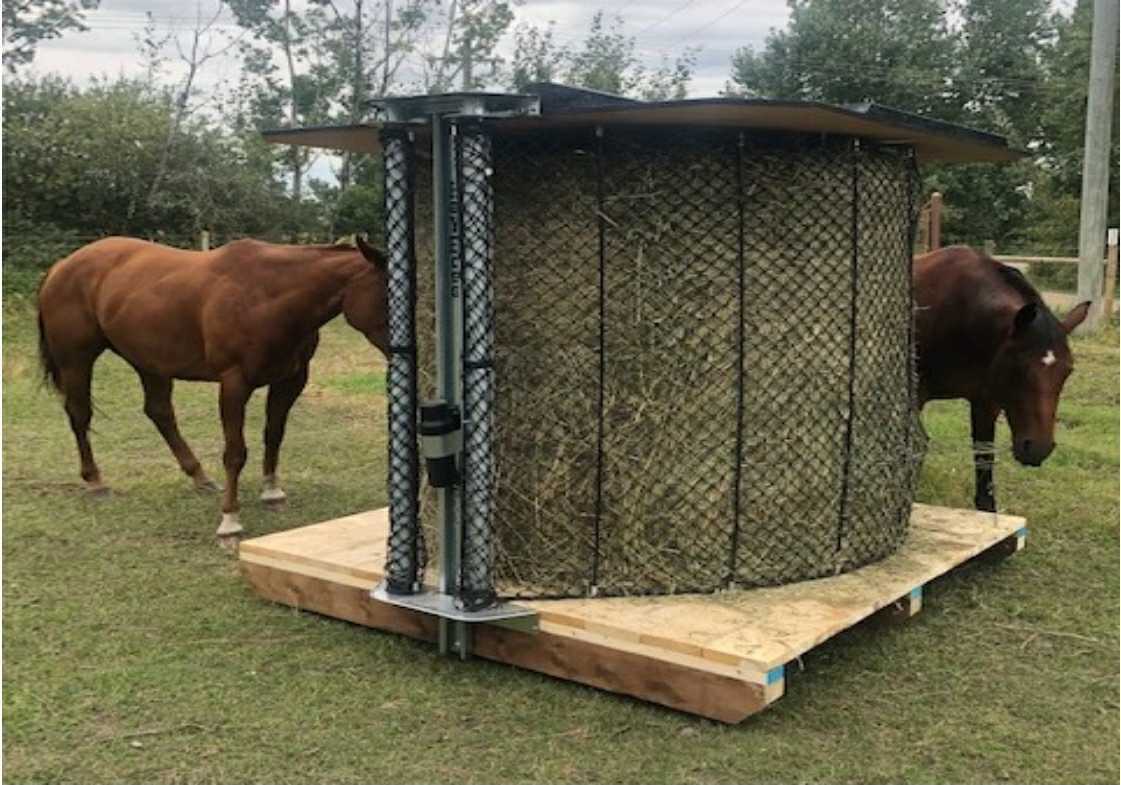
Credit: www.haybossfeeders.com
Benefits Of Diy Hay Feeders
Making your own horse hay feeder brings many good points. It gives control over design and function. You can build a feeder that fits your horses and space perfectly. It also saves money and can last a long time with the right materials.
DIY feeders let you create something useful and strong. You avoid paying extra for brand names. Plus, you can repair or change it easily. This way, your horses get fresh hay without waste or mess.
Cost Savings Compared To Store-bought
Building your own hay feeder costs less than buying one. Store-bought feeders often have extra charges for brand and shipping. DIY feeders use simple materials from local stores. You choose affordable supplies and avoid high prices.
This approach fits tight budgets. You spend only on what you need. Saving money means you can buy better hay or more supplies for your horses.
Customization For Specific Needs
Each horse and farm is different. DIY feeders let you design size and shape for your situation. You decide how tall and wide it should be. This avoids hay waste and keeps feeding neat.
You can add features like slow feeders or easy cleaning parts. Customization helps keep horses healthy by controlling their eating speed. It also fits your space well without crowding.
Durability And Longevity
Choosing strong materials makes DIY feeders last long. You pick wood or metal that resists weather and horse use. Store-bought feeders may use cheaper parts to cut costs.
With a DIY feeder, you can fix broken parts quickly. This keeps the feeder working for many years. Long-lasting feeders reduce waste and save money over time.
Essential Materials And Tools
Building a DIY horse hay feeder needs the right materials and tools. Choosing good supplies helps make a strong feeder. This section guides you through what to pick and use. It also covers safety tips for a smooth project. Prepare well to build a feeder that lasts.
Choosing The Right Wood And Hardware
Pick wood that is safe and strong. Cedar and pine work well for outdoor use. Avoid treated wood that may harm horses. Use hardware like screws and nails that resist rust. Stainless steel or galvanized options last longer. Choose sturdy wire or mesh to hold the hay securely.
Tools Needed For Construction
Gather tools before starting the build. You will need a saw to cut wood pieces. A drill helps make holes and drive screws. Use a hammer for nails and adjustments. A tape measure ensures precise cuts. Sandpaper smooths rough edges for safety. Gloves protect your hands while working.
Safety Considerations
Wear safety glasses to protect your eyes. Work in a clean, well-lit area. Keep tools away from children and pets. Check wood for splinters or sharp edges. Secure all parts tightly to avoid breaks. Inspect the feeder regularly for damage or wear.
Simple Diy Hay Feeder Designs
Simple DIY hay feeders help keep horse hay clean and dry. They also reduce waste and save money. These feeders are easy to build at home. They use common materials and simple tools. You can make a feeder that fits your space and needs.
Here are three easy designs. Each one is practical and affordable. They work well for small or large groups of horses.
Basic Wooden Trough Feeder
This feeder uses a wooden box or trough. It holds hay off the ground. The wood keeps hay dry and clean. Build it with planks or old wood boards. Nail or screw the sides and bottom together. Make it about waist height for easy feeding. Sand rough edges to protect horses’ mouths. Add legs or stands to keep it stable.
Pvc Pipe Hay Feeder
PVC pipes create a lightweight, durable feeder. Cut pipes into sections and connect with elbows. Make a frame that holds hay in place. The pipes stop horses from pulling out too much hay. Drill holes for ventilation and drainage. This design is easy to clean and move. Use PVC glue or screws to secure parts.
Recycled Pallet Feeder
Old pallets make a low-cost, sturdy feeder. Use pallet slats to form a box or rack shape. Leave spaces between slats for airflow and easy hay access. Secure corners with nails or screws. Sand rough spots to avoid splinters. This design is eco-friendly and simple to build. Place it on flat ground to keep it steady.

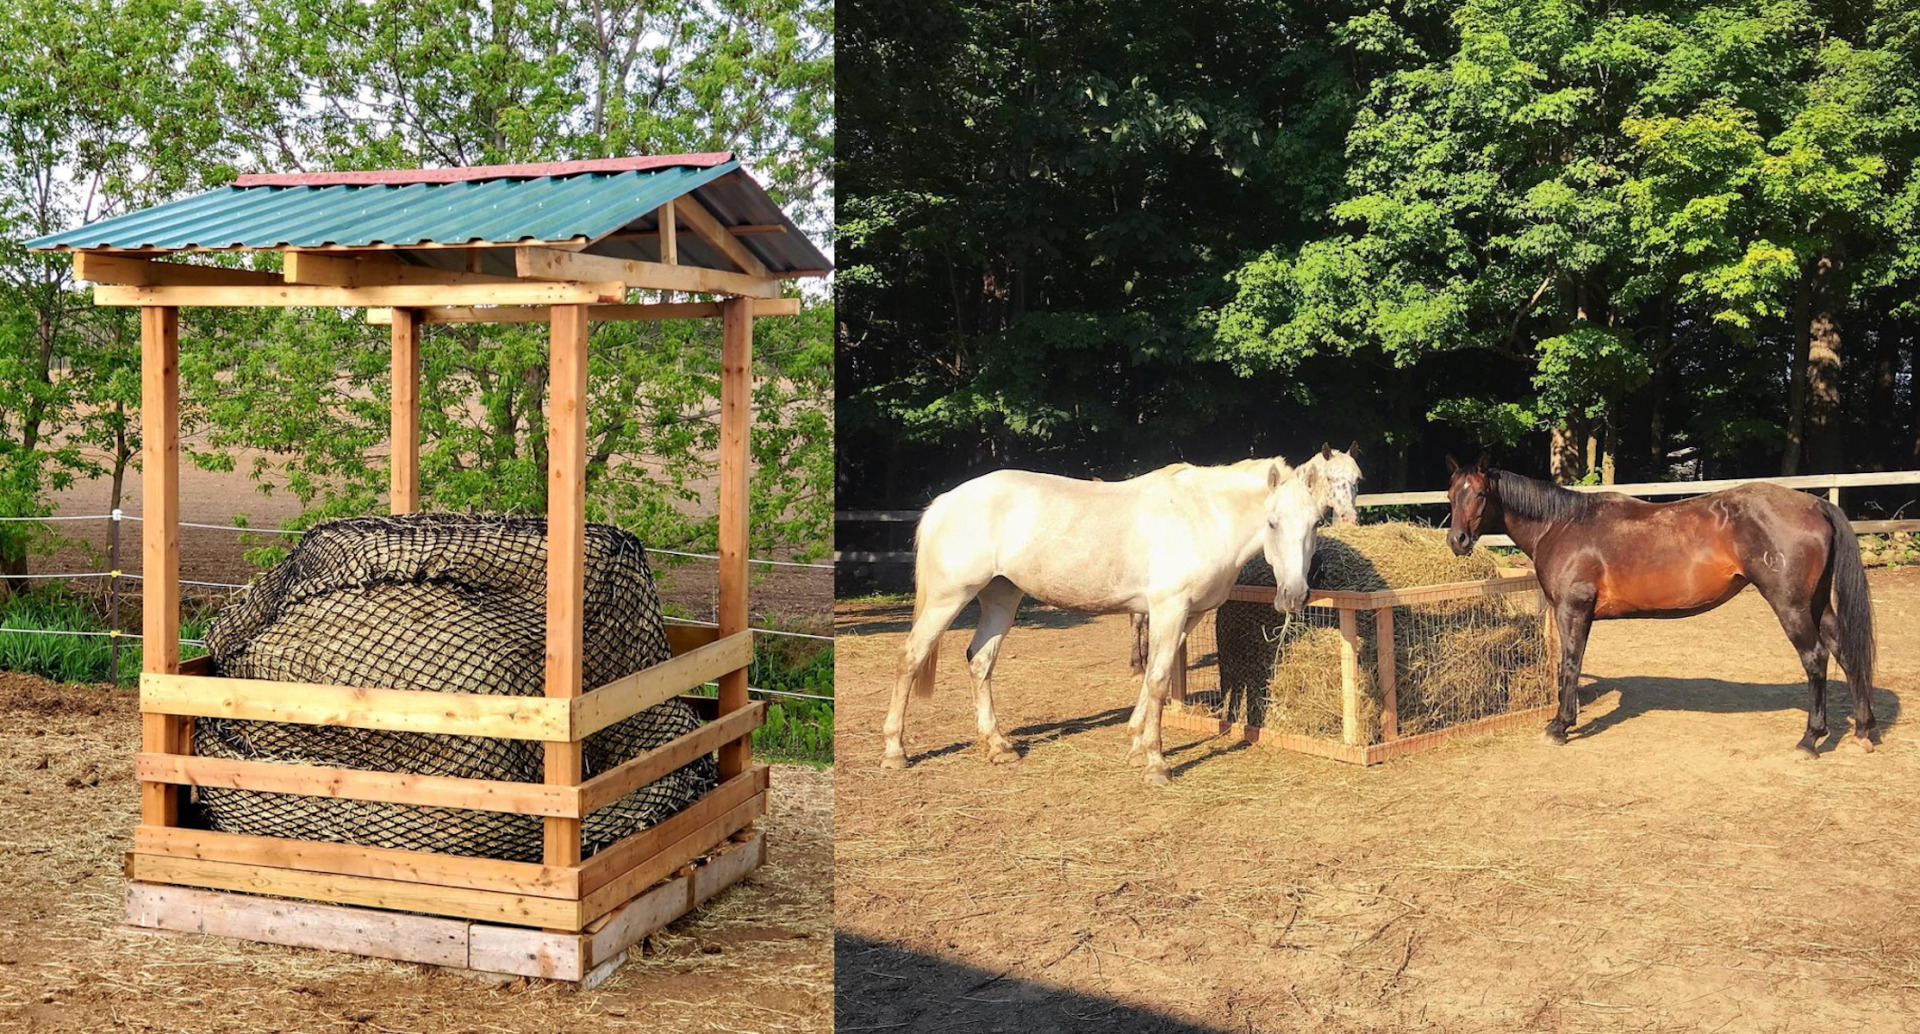
Credit: neslihandolar.com
Step-by-step Building Instructions
Building a DIY horse hay feeder is easier than it seems. This guide walks you through the process step-by-step. Follow these simple instructions to create a sturdy, effective hay feeder for your horse. Each step focuses on clear, manageable tasks. By the end, you’ll have a reliable feeder that saves hay and keeps your horse happy.
Measuring And Cutting Materials
Start by gathering all necessary materials. Use quality wood that can hold weight and resist weather. Measure the wood pieces according to your feeder design. Typical dimensions include lengths for the frame, base, and feeding slots. Mark the wood carefully with a pencil. Use a saw to cut the pieces along your marks. Check each piece for smooth edges to avoid splinters. Accurate cuts ensure the feeder fits together well.
Assembling The Feeder Frame
Lay out the cut wood on a flat surface. Begin by joining the base pieces using screws or nails. Attach the vertical supports to the base securely. These will hold the feeding rack in place. Fix the top frame pieces to the vertical supports. Make sure the frame is square and stable. Use a drill to fasten all joints tightly. A strong frame will hold hay safely and last longer.
Finishing Touches And Weatherproofing
Sand all surfaces to remove rough spots. This protects your horse from injury. Apply a non-toxic wood sealant or outdoor paint. This step protects the feeder from rain and sun damage. Allow the finish to dry completely before use. Check for any loose parts and tighten as needed. A well-finished feeder looks good and lasts through seasons.
Tips For Maintenance And Longevity
Keeping your DIY horse hay feeder in good shape saves money and effort. Proper care helps it last longer and stay safe for your horse. Small habits make a big difference in maintenance and longevity. Below are simple tips to keep your feeder clean and strong.
Regular Cleaning Routines
Clean the feeder often to stop dirt build-up. Remove leftover hay every day or two. Use a brush to clear dust and debris. Wash the feeder with water weekly. Dry it well to avoid dampness. Clean feeders help keep hay fresh and tasty.
Preventing Mold And Rot
Mold grows in wet, warm places. Keep the feeder dry to stop mold and rot. Store it under cover or in a dry spot. Check for wet hay or moisture inside the feeder. Replace any moldy hay quickly. Good airflow around the feeder helps reduce moisture.
Repairing Common Wear And Tear
Check the feeder for cracks or broken parts often. Fix loose nails or screws right away. Sand rough edges to prevent splinters. Replace damaged wood or metal pieces. Small repairs stop bigger problems later. Regular checks keep the feeder safe and strong.
Credit: www.cowgirlmagazine.com
Adapting Feeders For Different Herd Sizes
Adapting horse hay feeders to fit different herd sizes is essential for efficient feeding. The right feeder size can reduce waste and keep all horses healthy. Tailoring feeders to your herd ensures each horse gets enough hay without overcrowding or fighting. Consider the number of horses and their eating habits before choosing or building a feeder.
Small-scale Feeders For Few Horses
Small-scale feeders work well for one to three horses. These feeders are compact and easy to build. They save space and reduce hay loss by limiting how much hay is exposed at once. A simple wooden rack or a small bale feeder fits this need. Small feeders also help control portions and keep hay clean.
Large Capacity Feeders For Herds
Large herds need feeders that hold more hay. Bigger feeders reduce the number of refills required each day. They keep hay off the ground and allow multiple horses to eat at once. A sturdy metal or wooden feeder with multiple feeding spaces works best. Large capacity feeders help avoid competition and stress among horses.
Portable Vs Fixed Feeders
Portable feeders offer flexibility for moving feeding spots. They are light enough to carry and place anywhere in the field. Portable feeders help rotate grazing areas and keep horses from trampling the same spot. Fixed feeders stay in one place and are often more durable. They suit permanent feeding areas and protect hay from weather better.
Cost Breakdown And Budget Tips
Building a DIY horse hay feeder can save money compared to buying ready-made ones. Knowing the cost breakdown helps plan your budget well. Small savings add up and keep the project affordable.
Budget tips help you get the best materials without overspending. Careful planning avoids unexpected expenses. This section covers key points for managing costs.
Estimating Material Costs
Start by listing all needed materials. Common items include wood, nails, screws, and paint. Prices vary depending on quality and size.
Measure your feeder design to calculate quantities. Check local stores or online shops for current prices. Add a small buffer for extra supplies.
Finding Affordable Supplies
Look for sales or discounts at hardware stores. Secondhand materials can be cheaper and work well. Ask friends or neighbors if they have leftover wood.
Reuse pallets or scrap wood to cut costs. Compare prices before buying large quantities. Bulk purchases often lower the price per item.
Maximizing Value With Diy
DIY saves on labor costs, which can be high. Invest time instead of money to build quality feeders. Use simple tools to avoid extra expenses.
Focus on durability to avoid frequent repairs. Good planning reduces waste and saves resources. A well-built feeder provides long-term value.
Frequently Asked Questions
What Materials Do I Need For A Diy Horse Hay Feeder?
You need wood, nails, screws, a saw, and a drill for a simple hay feeder.
How Do I Build A Safe Horse Hay Feeder?
Use smooth wood, avoid sharp edges, and secure all parts tightly for safety.
What Size Should A Horse Hay Feeder Be?
Make it big enough to hold enough hay but not too large to waste space.
Can I Make A Portable Horse Hay Feeder?
Yes, use lightweight materials and add handles or wheels for easy moving.
How Do I Prevent Hay Waste In A Homemade Feeder?
Design with slats or mesh to hold hay while allowing horses to pull small amounts.
How Often Should I Clean My Diy Hay Feeder?
Clean it weekly to remove old hay and prevent mold or pests.
Conclusion
Building your own horse hay feeder saves money and suits your needs. It keeps hay clean and reduces waste. Simple tools and materials make the project easy. Your horse will enjoy fresh hay every day. Try different designs to find what works best.
Take pride in your handiwork and care for your horse. This small effort improves feeding and helps your barn run smoothly. Give it a try and see the benefits yourself.
As an Amazon Associate, I earn from qualifying purchases.